How to run a Python Code inside our Native Android App ?
Complete setup of Chaquopy in Native Android Application.


Table of contents
Caution : Let me tell you something thing , that , after reading this blog, you are going to have the power to leverage the flexibility and the power of Python within your Android App .

Story Time - Problem & its solution
few days back I was exploring web scraping where I learnt how to extract data from the website with the help of a script . While experimenting I wrote a script in Python that takes the url of the website and extracts all the images from the website . As a passionate Android developer , I got the idea of creating a Android app that simply takes the url of the website ; extracts all the images and displays them and allows the user to download the images .
Now the fun part starts ; It was just a idea , main thing was to execute it . At this moment what I had was a python script and a Question
" How can i integrate this python code inside my App ? "
The first possible solution that struck my mind was to build an API and I would like , pass the url as a string over the POST request and get the array of images as a GET request . But the problem with this approach is for creating a API and making sure it generates the desired output ; I would need to design a API architecture , its testing and error handling and the important part is to implement proper authentication and authorization for securing the API also we do need to host our API , which would charge us some amount ; therefore I won't choose this method ; This is not what we want as for now . Let's now look for some other solution .
The second possible solution could be to implement the Python code inside our App and run it locally ; there again a question arises " How to do it ? " .
After a bit of research I came across "Chaquopy" , a plugin which enables the integration of Python code inside our Native Android Applications . Woaah ! we got the solution .

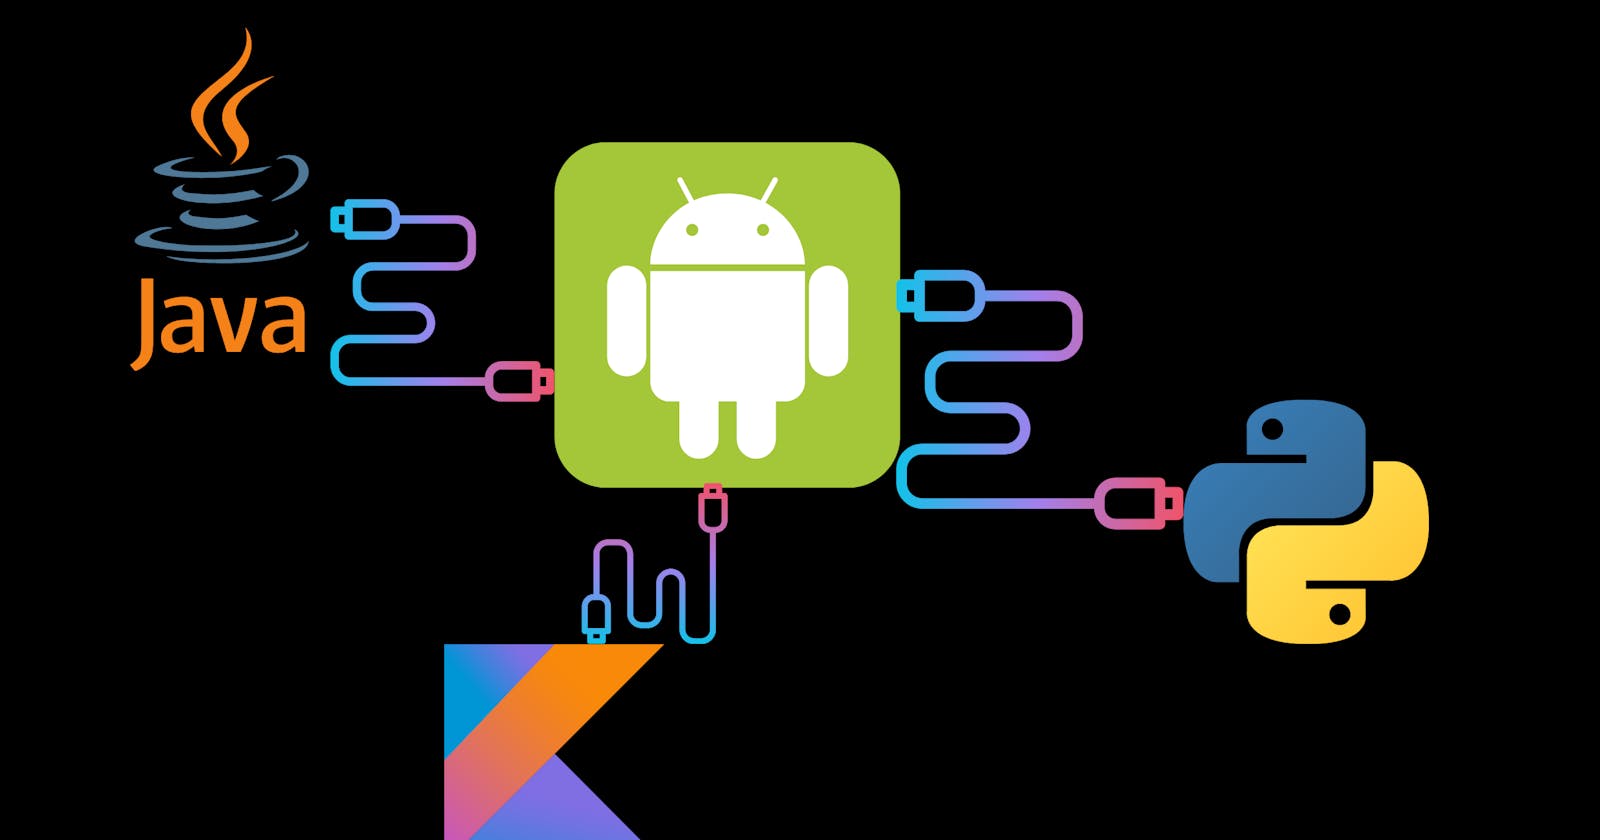
What is Chaquopy ?
Chaquopy is a plugin that enables the integration of Python code with Native Android Applications ( Apps primarily build using Java and Kotlin ) . Chaquopy basically provides a bridge between the Java Virtual Machine ( JVM ) used by Android and the Python interpreter . It uses Android Native Development Kit ( NDK ) to run and execute Python code . Chaquopy supports popular Python libraries allowing useage existing Python code and libraries .
How is it going to help us ?
With the help of Chaquopy we can directly write and run our Python code inside our Android project and easily integrate it with our Java / kotlin code . Now , lets see how we can setup our Android Project with Chaquopy .
Setting up our Android Project with Chaquopy :
Now let's setup our new Android Project with Chaquopy , we would be using Kotlin as for now , though 99% of the steps are going to be the same for Java and Kotlin , No need to worry I will cover both the cases :-
Step 0 : Creating a new Android Project

Click on the "New Project" button on the top Right Corner > In the project creation wizard, you will be presented with various project templates to choose from look for the option called "Empty Activity" and select it . After selecting the empty activity template, click the "Next" button to proceed. This will take you to the next step in the project creation process.

Now enter the Project Name and the Package Name ( package name is the unique identifier of your Application on the Android platform its basically a reverse domain name make sure you enter it correctly ) . As for now we will be using Kotlin as our language you can go with Java as per your wish ( most of the things are same , where its different I will mention it ) and click on the Finish button . So we have successfully created our Android Project .
Step 1 : Checking plugin version Compatibility
After your project has successfully build , On the left hand top corner click on file and select Project Structure .
Check your compatibility for Android Gradle Plugin Version , Min Android API level and Gradle Version with the Chaquopy version . Refer the below compatibility table ; as of now for this blog I am using the chaquopy version 14 . So for that our python version should be in range 3.8-3.11 and Gradle Plugin Version between 4.1-8.0 and also the minSDK should not be less than 21 .

Step 2 : Setting up Chaquopy
In your top-level build.gradle file, set the Chaquopy version:
plugins {
    id 'com.chaquo.python' version '14.0.2' apply false
}
in the module-level build.gradle file (usually in the app directory), apply the Chaquopy plugin after the Android plugin:
plugins {
    id 'com.android.application'
    id 'com.chaquo.python'
}
In your build.gradle module level , inside the defaultConfig add the ABI filters . Want to know more about abiFilters and ABI (Application Binary Interface)
Currently supported ABI's
armeabi-v7a, supported by virtually all Android devices.arm64-v8a, supported by most recent Android devices.x86, for the Android emulator.x86_64, for the Android emulator.
you can remove the abi according to your need but for the development we need to enable them all .
defaultConfig {
    ndk {
       abiFilters "armeabi-v7a", "arm64-v8a", "x86", "x86_64"
    }
}
Now inside the defaultConfig add your Python version installed on your system , if you are not sure about your Python version , for windows you can run this command on your cmd python --version same for the Linux you can use the command python3 --version .
Note : suppose your Python version is 3.10.1 or 3.10.2 use only 3.10
defaultConfig {
    python {
        version "3.10"
    }
}
Now we need to provide the path where Python is installed on our system , by default Chaquopy will look for the standard path ( you only need to provide the path if during the installation process you have changed the installation directory , I never do that :) )
defaultConfig {
    python {
        buildPython "C:/path/to/python.exe"
    }
}
We need to call Python.start with the Android Platform before running the code . We can do so by two methods (1) by adding Python.start() at a location which is guaranteed to run at least once during the process (2) by simply adding the below code inside the application tag in the AndroidManifest file . I usually prefer the second approach .
Note : if you have not synced your build.gradle after making the changes you would probably see an error ; no need to worry it will get resolved as you sync your gradle files .
android:name="com.chaquo.python.android.PyApplication"
The exciting part if you want to include any Python packages you can simple add them inside pip using install <package-name>
defaultConfig {
    python {
        pip {
           # suppose i want  to install pandas and numpy
            install "pandas"
            install "numpy"
        }
    }
}
Sync your build.gradle
We have successfully setup our Android Project with Chaquopy.

Where to write Python Code :
As we have Successfully setup our Android Project with Chaquopy lets now see where we can write our Python code :
Open your Android Project in Project View , to do so if you are in Android View in the top left corner click on the Android and select the Project .
After opening your Android Project in Project View : open App > src > main
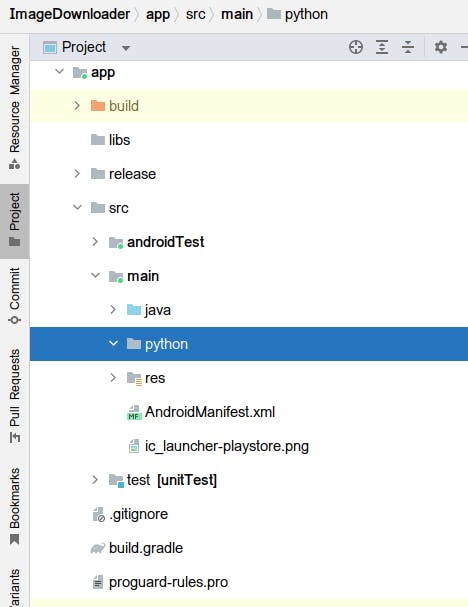
Inside the Main folder you will get a Java folder and a empty python folder . Right click on the Python folder and select the option New > python file give a name to the file ex. downloader [no need to enter the extension .py after the name] ; if you do not get the option of python file select the New > File and give a name with .py extension ex. downloader.py
Write your python code inside this file . Make sure to have your code inside a function . Refer this file :

Here , we have no need of pandas but just to show you how to import packages . Here we have a Download function which takes a name a String value and returns a Hello + name . for example : if we pass Divyansh as a parameter to the function it would return Hello Divyansh .
Note : when you will write your python code inside this file you will notice many errors even if the code is correct ; its because your python interpreter is not configured . You can ignore all the errors that are showing up . If your python code has any errors then during the build of your app or when you run your app ; your app would crash and you can debug it by viewing the logcat
Step 4 : Accessing Python Code inside Java/Kotlin
Inside your MainActivity.java / MainActivity.kt or any other activity you wish to access your python code from .
Getting the instance of Python and creating an PyObject , below is the code for Kotlin
var py = Python.getInstance()
var pyObject : PyObject = py.getModule(<enter python file name>)
Below is the similar code for Java
Python py = Python.getInstance();
PyObject pyObject = py.getModule(<enter python file name>)
Now the final step is to call our function and pass the argument , inside the callAttr() method function name is the mandatory and as per your python function if your function takes a parameter then you can pass the argument and similarly multiple parameters can be passed by separating with " , "
We are using try-catch block for exception handling .
Below is the code for Kotlin
try {
    var result = pyObject.callAttr(<function name > , <parameters> )
}
catch( e: Exception ){
    // code for catch block
}
Below is the similar piece of code for Java
try {
    PyObject result = pyObject.callAttr(<function name> , <parameters>);
}
catch ( Exception e ){
// code for catch block
}
Inside the result variable we have the output of our python method , the datatype of result variable is PyObject . According to your usage you need to typecast it , like for converting it to string you can use result.toString() and for converting it to int type you can use result.toString().toInt()
That's pretty much with this blog , if you have any queries or doubts do leave a comment and i would be glad to help you out !!
For more details refer the Official documentation
Thank-you for giving it a read !! if u loved it then give it a like to support .